Although macro photography is very obtainable – no exotic destinations or even expensive gear required – it is usually tricky to choose the best camera configurations for macro work. If you want sharpened, well-exposed photos, you’ll have to press your camera system to the limits. Luckily, this guide covers all you need to know about camera settings for macro photography, including camera mode, aperture, flash, shutter speed, ISO, plus focusing, plus two detailed check-lists at the end.
Camera Mode
There are two camera settings which are useful for macro photography, according to the type of photos you are planning to take:
- Aperture Concern – Useful once the source of light in your photo will be the sun, or other ambient gentle, rather than a flash. However , keep in mind that this isn’t always realistic to do macro photography without a flash.
- Manual Mode – Necessary when using an expensive for macro photography, or whenever shooting from a tripod under sun light (such as focus stacking a number of photos together).
I recommend avoiding the “Macro? or even “Close-up? scene modes that a few cameras have. Although these are much better than the default Auto mode, they will aren’t flexible enough to deal with challenging macro scenes, especially when you are making use of flash.
Also, never use shutter priority mode just for macro photography. You don’t need your aperture to change sporadically while you move in and out of shadows. It is very important control aperture for yourself.

Aperture
The first setting you need to adjust will be your aperture , also known as your own f-number . This is probably the most critical settings for macro picture taking, since it directly changes your level of field.
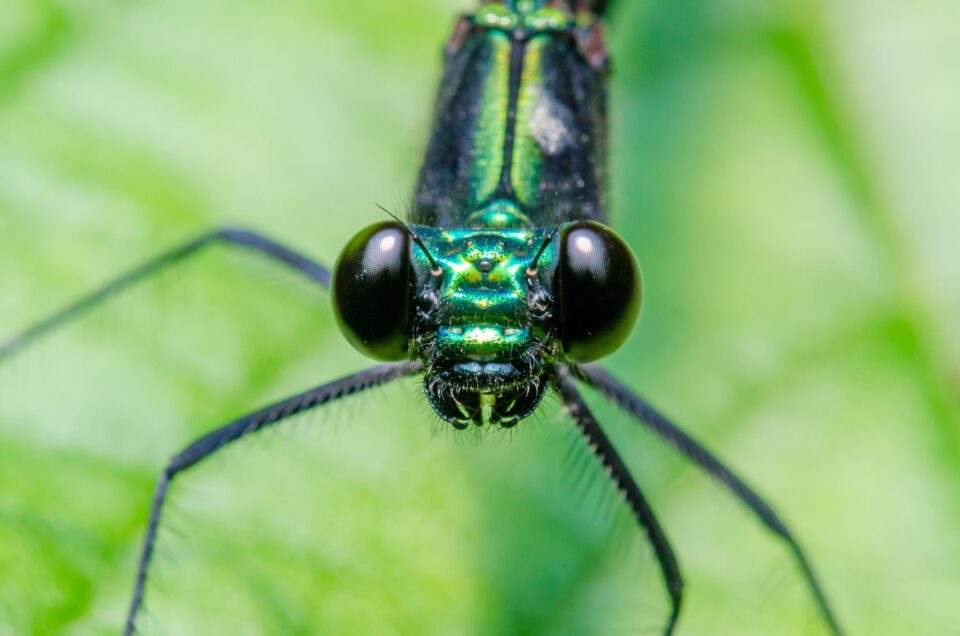
Macro photography has very minimal level of field – paper slim, and it gets worse as you concentrate closer and closer. With macro lenses at their closest concentrating distance, you’d be lucky to obtain an entire ant head to appear in concentrate at once. Your best chance of capturing razor-sharp photos is to pick your aperture very carefully.
So , exactly what aperture should you use for macro photography?
It’s the tricky question. On one hand, the optimal aperture depends on your source of light. Using a flash, you’ll have enough light to make use of very dark apertures like f/16 or even f/22, boosting your level of field. If you’re not really using a flash, you might need to vacation resort to a brighter aperture like f/5. 6 or f/8, even though it rapidly diminishes your depth of industry.
The optimal aperture furthermore depends on other factors: the size of your digital camera sensor, the focusing distance for your subject, and even the brand of digital camera you use (because Canon calculates aperture differently than other brands within high-magnification macro photography). Here is a graph of our recommended aperture settings for various macro photography subjects:
| Reduced magnification close-ups (flower, dragonfly, frog, icicle) | High magnification one: 1 macro photos (ant, dragonfly’ s eyes, snowflake) |
| Tiny Four Thirds Sensors | f/2 to f/8 – a number of, since depth of field isn’ t a big issue yet | f/8 to f/11 |
| Canon APS-C | f/2. 8 in order to f/10 – same reason since above | f/5 in order to f/7. 1 |
| Nikon/Other APS-C | f/2. 8 to f/10 – same reason as above | f/10 to f/14 |
| Canon Complete Frame | f/2. 6 to f/16? #8211; same cause as above | f/8 to f/11 |
| Nikon/Other Full Frame | f/2. 8 to f/16? #8211; same reason as over | f/16 to f/22 |
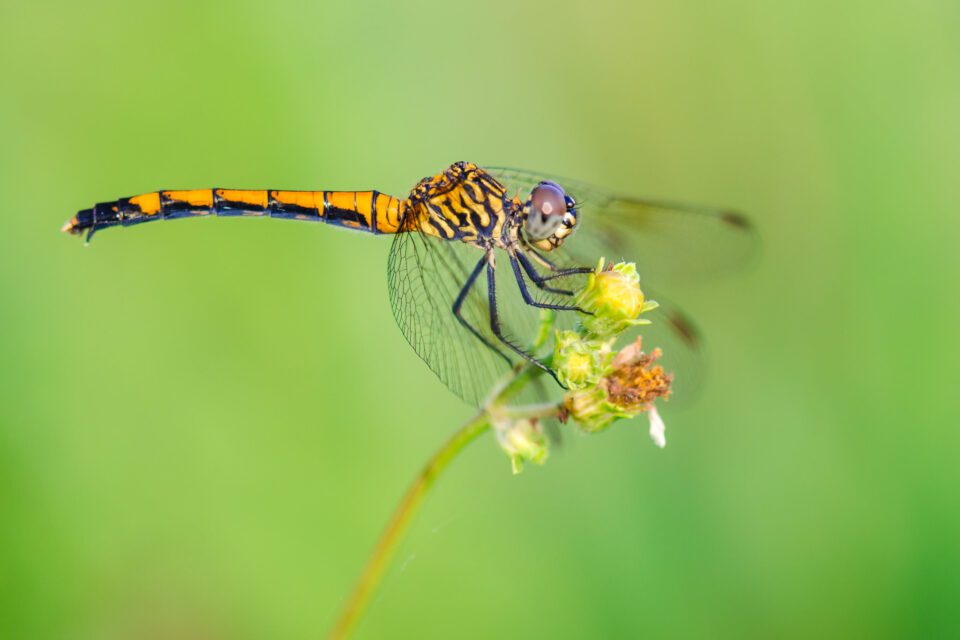
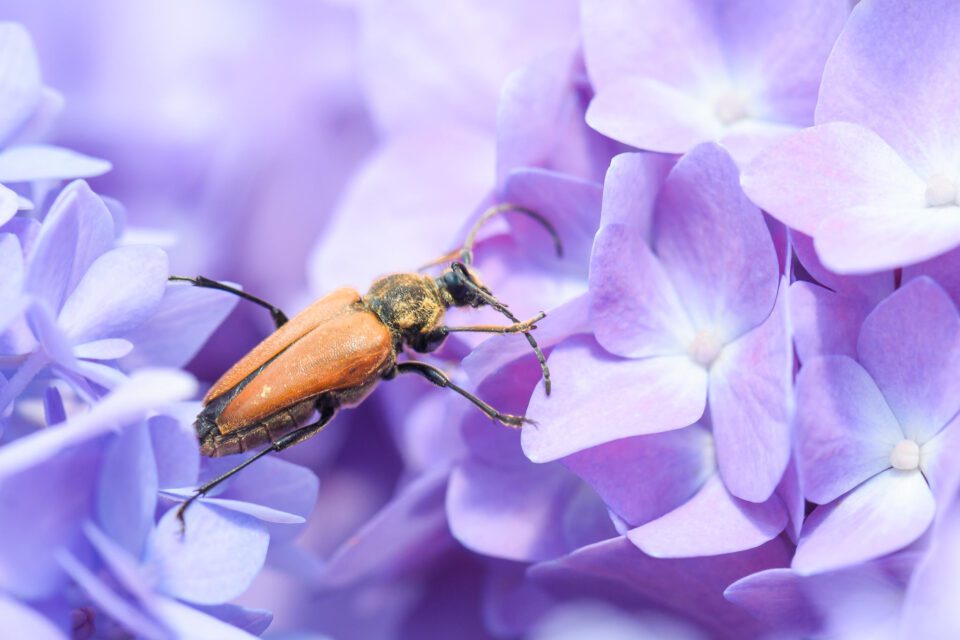
Feel free to experiment and test these types of different ranges for yourself. They aren’t set in stone, although they are good starting factors. Macro photography never has just as much depth of field as you might think. I took the picture below at f/22 with an APS-C Nikon camera, and it still has an extremely thin depth of field:
Adobe flash
As protected above, you won’t have enough level of field for high magnifying photography unless you use dark apertures like f/16. In turn, that means you’ll want to use a flash. A expensive also cuts down on motion blur, regardless of whether from your camera or your issue. It’s one of the most important pieces of equipment with regard to macro photography.
Yet what flash settings should you make use of? I strongly recommend using automatic (TTL) flash in combination with manual mode. This way, you pick your aperture for level of field, but still enjoy the advantages of auto exposure to compensate for changing situations.
In order to capture the bright enough photo, you might need to modify flash exposure compensation quite a bit. I actually often use a flash exposure settlement of +2 to +3 halts for high magnification macro digital photography.
Flash can be very severe for macro photography. You’ll wish to use a flash diffuser to ease the light and avoid specular highlights on your own subject. If you’d rather not really buy one, you can make a flash diffuser pretty easily out of tape, cardboard boxes, and a paper towel. See our own complete article on macro photography lighting for more details.
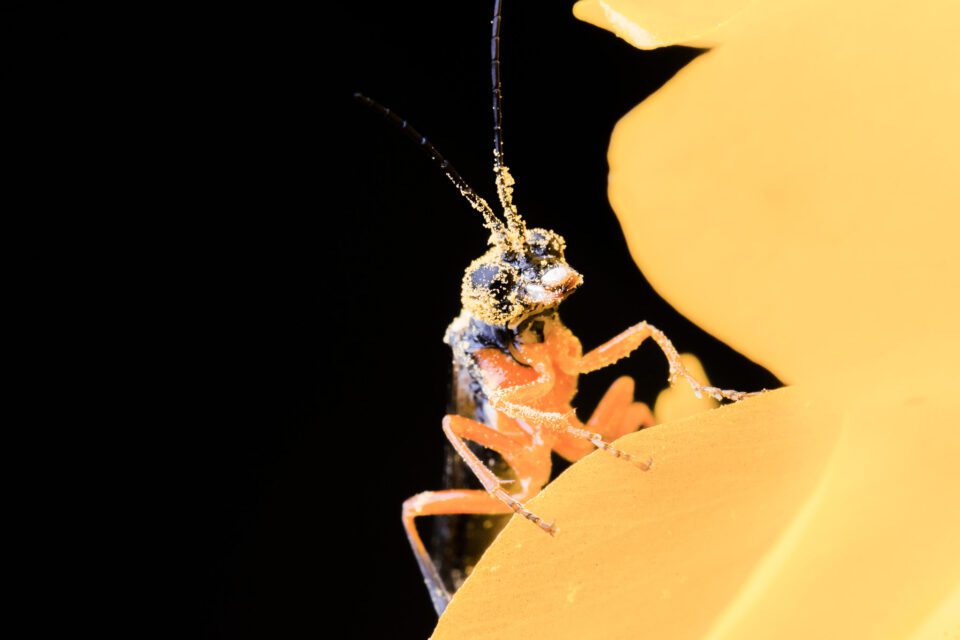
Interestingly, when you use a flash along with macro photography, the background of your photograph may turn dark or even completely dark. This is because the subject – being therefore close to your flash – gets many times more light than the history.
Shutter Speed
- With an adobe flash : Your shutter velocity setting is not specifically important. Set it to 1/200 or 1/250 second (or whichever your fastest sync speed might be) purely to block out background light. It won’t affect the lighting of your flash, because your flash has ended in far less than 1/250 2nd.
- Without an adobe flash : It is critical that your shutter velocity is fast enough to prevent obnubilate from camera shake and issue motion. I recommend using 1/400 2nd or even faster if possible. You might get aside with a longer shutter speed in case you have image stabilization and your subject is usually large, but don’ t drive it too far. I can’t tension enough that blur is highly amplified for close-up photos. You certainly will get great macro pictures without a display, but you need to watch this establishing carefully.
ISO
- Having a flash : ISO is deeply intertwined along with flash for macro photography. Particularly, it’s common for flashes in order to struggle outputting enough light meant for macro photos (since your aperture is so narrow). It’s also a poor idea to keep your flash close to full power most of the time; you’d instead keep it around 1/4 power therefore it recycles more quickly between photos. This is how ISO comes in. Set your display manually to 1/4 power, choose an ISO that results in a great exposure of a leaf, and then arranged the flash back to Auto (TTL) mode. Now you know that it will float around 1/4 power for a regular image. Your ISO will usually take the range of 100 to eight hundred for macro photography with an adobe flash.
- Without an adobe flash : You’re dealing with a fast shutter speed to eliminate motion blur, as well as a dark aperture to capture sufficient depth of field. If you don’t have a flash, that only simply leaves one option for capturing bright sufficient pictures: ISO. It’s not uncommon to use ISOs in the range of eight hundred to 3200 for macro picture taking. I recommend using Auto ISO right here. Set your minimum shutter velocity to 1/400 second and your INTERNATIONALE ORGANISATION F¨¹R STANDARDISIERUNG to 100. This will keep your shutter speed fast enough for sharpened photos, while keeping your INTERNATIONALE ORGANISATION F¨¹R STANDARDISIERUNG at a reasonable value, without any psychological energy expended worrying about sharpness plus ISO for a given photo.
Focusing
The good thing is that all the settings so far will stay fairly constant from photo in order to photo. They are difficult to set, certain – once . But when you’ve set them correctly, you’re pretty much done. I consider almost all my high-magnification macro pictures around f/16, 1/250 second, INTERNATIONALE ORGANISATION F¨¹R STANDARDISIERUNG 800, TTL flash. And for the low-magnification macro photos, I arrears to aperture-priority mode with Car ISO 100, minimum shutter swiftness 1/400 second.
However, focusing can be more complicated. You’re aiming to maneuver a paper-thin depth associated with field to match your subject, sometimes whenever it’s moving quickly, all whilst keeping the composition you want. It’s a bit of an art form, and even the most competent practitioners will come across subjects along with meager of success rates.
My main recommendation is to use constant autofocus for larger subjects in lower magnification. Once you get to high-magnification flash photography, autofocus simply won’t work well enough. Instead, set your own camera lens to a given concentrating distance, and then sway forward plus backward until your subject appears sharp (not easy). Take the picture, and then take several more so you might have the best chance of getting a sharp outcome!
We also have an in depth guide to concentrating in macro photography that covers these techniques and much more.
Recommended Camera Settings Checklist
That’s a lot of information in order to digest. Here is a checklist that you might discover useful, based on the one in our complete guide to macro photography . Note that these digital camera settings are for high-magnification macro photography, with a display :
- Purchase a monopod or find a stick.
- Get a strong flash, plus use a diffuser to soften the sunshine. If you don’t have a diffuser, the very best solution is often to make one your self. Check out our comprehensive tutorial upon macro picture taking lighting for more information.
- Put a macro lens on your camera and set this to manual focus at your meant magnification.
- Pick the appropriate exposure settings so that you capture the particular enough light. If the flash can be your main source of light, and you’re shooting at 1: 1 magnifying, it is a good idea to use the quickest shutter speed that still syncs with your flash (typically 1/200 or even 1/250 second). Use an aperture through f/16 to f/22.
- Set your flash power personally to 1/4, and manually established the ISO to whatever worth exposes ordinary subjects properly, just like a leaf. This may take some testing.
- Switch the adobe flash to TTL (automatic) mode. Nevertheless , even though it’s in automatic setting, you know it will tend to hover close to 1/4 power, thanks to step five.
- To get an accurate publicity, you will need to adjust your flash publicity compensation, potentially by as much as a few halts. It is not uncommon to have a flash settlement in macro photography of +2 or even +3, but it depends on the display.
- At this point, the only “automatic? setting you’re using is car flash, which will adjust itself based upon the reflectiveness of your subject. All of your other settings – aperture, shutter speed, and ISO – will remain constant. Don’t worry about changing all of them.
- Put your digital camera on a monopod or a stick, let's assume that it doesn’t interfere with reaching your own subject at the right height.
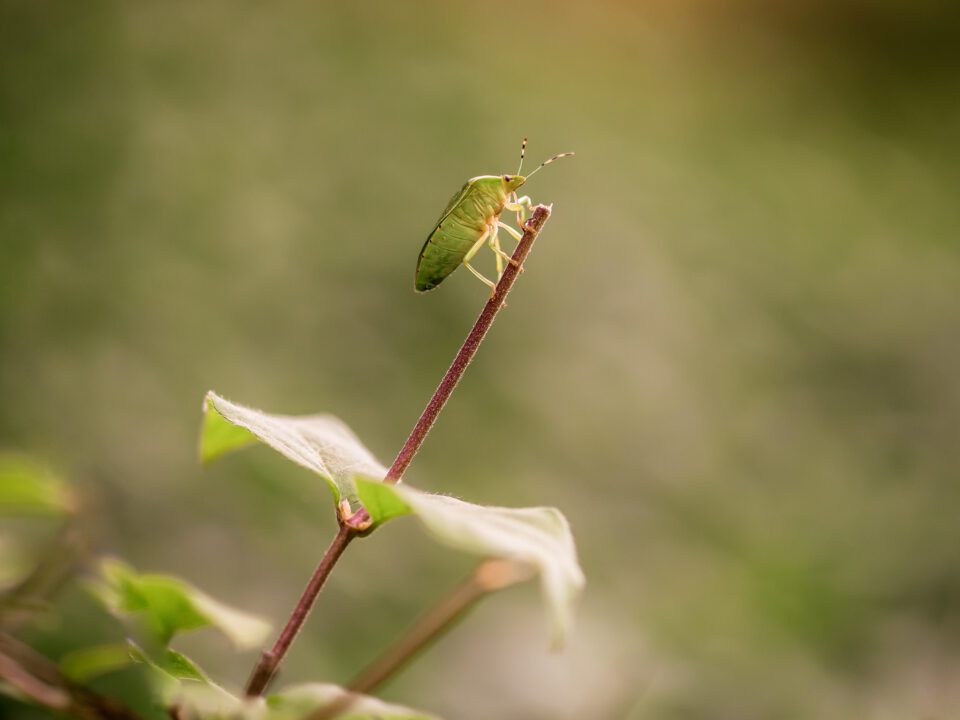
- Find a bug that gets long enough for you to photograph it – hopefully, one that is the size of the housefly or larger.
- Focus manually by swaying ahead and backward until your issue looks sharp, then take the image. Continue taking photos to maximize the chance for success.
- Watch out for dust spots in the editing stage, plus you’re done.
Here is a similar checklist just for lower magnification close-up photography without a flash :
- Set aperture-priority setting, and pick an aperture that provides you the desired depth of industry. This could be almost anything, although I recommend a good f-stop close to f/2. 8 to f/5. six if you want an especially blurry background.
- Turn on Auto ISO, make your Minimum Shutter Speed in order to 1/400 second. Set Max INTERNATIONALE ORGANISATION F¨¹R STANDARDISIERUNG to 3200. This way, your shutter speed won’t drop below 1/400 second unless you’re in a very darkish environment, minimizing motion blur.
- However , if your subject is definitely moving quickly (like a dragonfly in flight), set Minimum Shutter Speed to 1/1000 or 1/2000 second instead. In those instances, 1/400 will not be enough to deep freeze motion completely.
- Established ISO to your base value, generally 100 with most cameras. Odds are good that Auto ISO will certainly raise your ISO higher than this particular, but you might as well set the arrears to be as low as possible.
- If your photos are turning away too bright or dark, simply change exposure compensation.
- Use continuous autofocus (AF-C or even Continuous Servo) with the focus stage placed on your subject, and take those picture. Again, take multiple pictures to improve your odds of getting one which is completely sharp.
Hopefully this article solutions your questions about the best camera configurations to use for macro photography. Even though macro photography can be a complicated style, it is also one of the most rewarding. You can take a fantastic photo in your backyard on an or else ordinary day, or make the most of rainfall and fog to capture excellent close-ups.
It will take several practice to master these settings, every sub-genre of macro photography offers slightly different requirements, too. There exists a lot of information to juggle and maintain in mind at once. That said, a lot of these are usually set-it-and-forget-it settings that you will not generally need to change. And if you have any kind of questions about the best settings for the particula